

Getting started

Your first video in three steps.

Pick where you record, and every step below is written for it.

Records a tab, a window or your whole screen, and follows your clicks on web pages.

Set up

Add PointerCam to Chrome.

You do this once. After that, every take starts from Chrome’s toolbar.

Showing the steps for
  1. 1

    Add PointerCam to Chrome

    It’s free, and runs in Chrome and other Chromium browsers.

    Only about PointerCam, and every email has an unsubscribe link. Privacy

  2. 2

    Pin it to the toolbar

    Chrome tucks new extensions behind the puzzle piece. Pinned, PointerCam is one click away on every page you want to record.
    1. 1Click the puzzle piece beside Chrome’s address bar.
    2. 2Click the pin next to PointerCam. Its button stays in your toolbar.
  3. 3

    Allow your microphone

    When you need it
    Chrome asks the first time you turn it on. Choose “Allow while visiting the site” so it remembers. Your camera joins in the same way.
    1. 1Press Allow. Chrome asks just under the address bar.
    2. 2Choose “Allow while visiting the site” so Chrome remembers.

Record

Your first take.

Work the way you always do. PointerCam follows every click on the page.

Showing the steps for
A take

Record a tab

Starts after a 3 s countdown · ⇧⌘S to stop

  1. 1Open the tab you want, then click PointerCam in Chrome’s toolbar.
  2. 2Press Record and work as you normally would. PointerCam follows every click.
  3. 3Press Stop. The take opens in the editor, zoomed in where you clicked.
⇧⌘SStop⌥⇧DDraw on the page

To record more than a tab, pick Window or Screen in the popup. Clicks are followed on web pages.
A screenshot

Screenshot any page

By area or by element. Then frame it, mark it up and save it as a PNG.

  1. 1On the page you want, click PointerCam in Chrome’s toolbar.
  2. 2Choose Area and drag over what you want, or Element and click any part of the page.
  3. 3Press Edit. The screenshot opens in the editor, ready to frame and mark up. Copy only puts it on your clipboard.
Draw while you talk⌥⇧D

A pen, a highlighter, arrows, boxes and circles. Each drawing fades three seconds after your last stroke, or stays until you clear it.

Talk over it

Turn on your microphone before you press Record, and your camera if you want your face in a corner of the video.

Pause, or start again

The bar a take runs under has Pause, and a bin that throws the take away so you can start over.

Edit

It opens ready to export.

Every click already has its close-up. Drag the line: on the left, the take as recorded; on the right, what opens.

Simple mode

Change the look in one click.

These are the editor’s own rows. Try them on this take.

DragTrim the ends

Drag either end of a piece on the timeline. After a split, the edge two pieces share moves for both.

SSplit a piece

Split the piece under the playhead in two, keeping every frame.

XCut a mistake

Cut one second out at the playhead, so the video gets shorter.

⌘KFind any setting

Search every setting by what it changes, or by a problem like “silence”.

Share

Export it, then send the file.

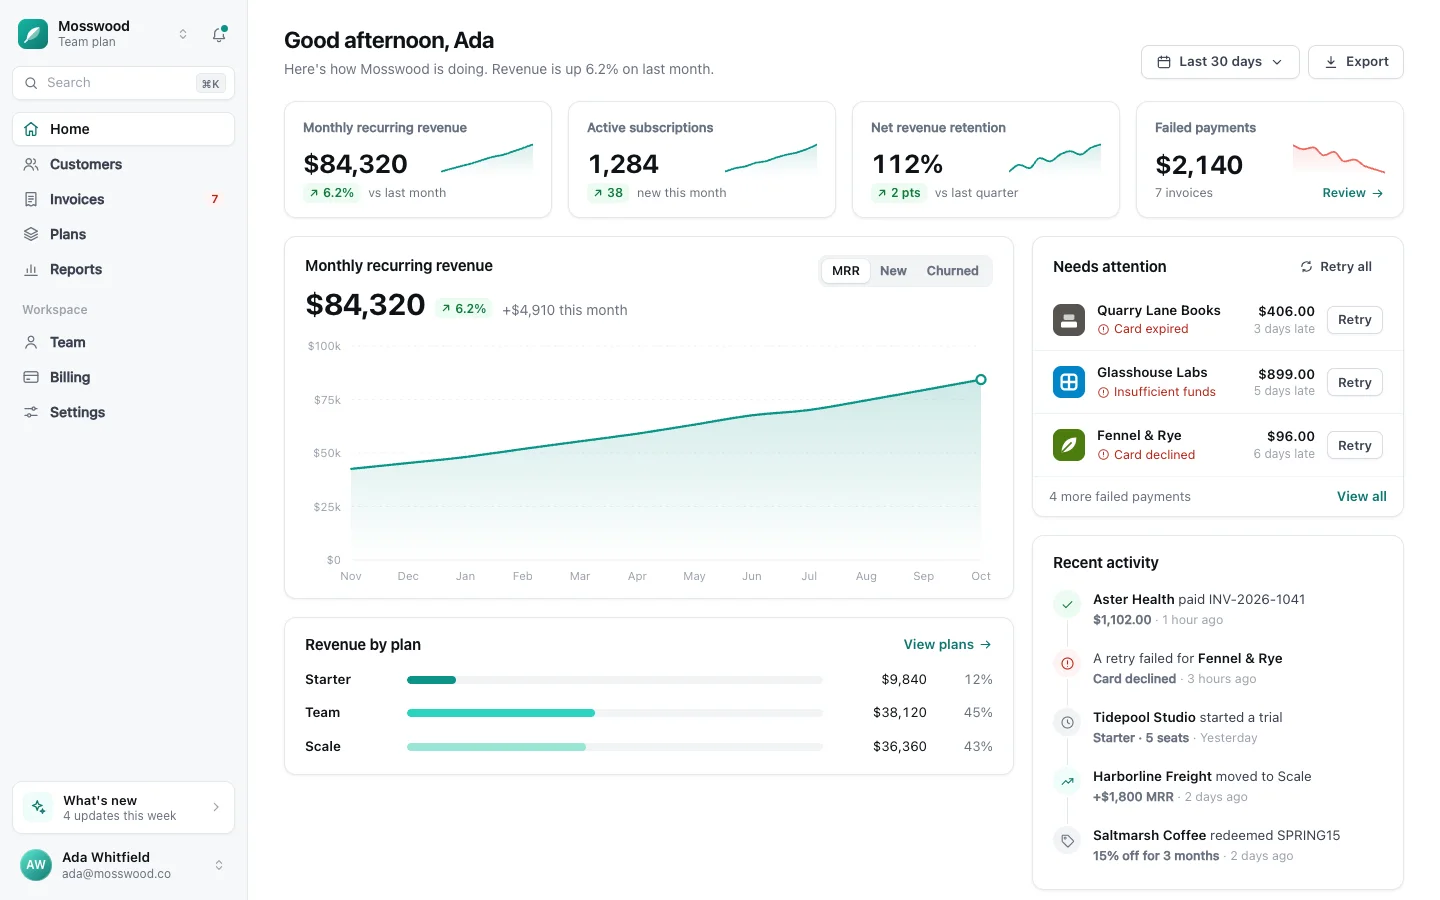
Everything renders on this computer. There is no upload and no share link: you send the file the way you send files today.

Export video2:00
Format
Quality
File size

Full detail whenever the picture holds still, lighter only while the camera moves. About a third smaller.

Renders on this device. Nothing is uploaded.

A two-minute take, as you set itAbout 22 MB1080p, balanced, with your voice.
  • Free exports go up to 1080p at 30 fps. Studio goes up to 4K at 60 fps.
  • Balanced keeps every still moment at full detail. Small is about half the size, for email limits.
  • It renders on your computer, so nothing waits on an upload.
A video

MP4 or WebM. Plays in Slack, Notion and Keynote, and uploads anywhere video goes.

A GIF

A silent loop, for a chat thread or a README.

A picture

Any frame as a PNG, or a screenshot finished in the screenshot editor.

A guide

Every click as a numbered step with its picture, as a PDF or a Word file.

Step-by-step guide

The same take is a guide too.

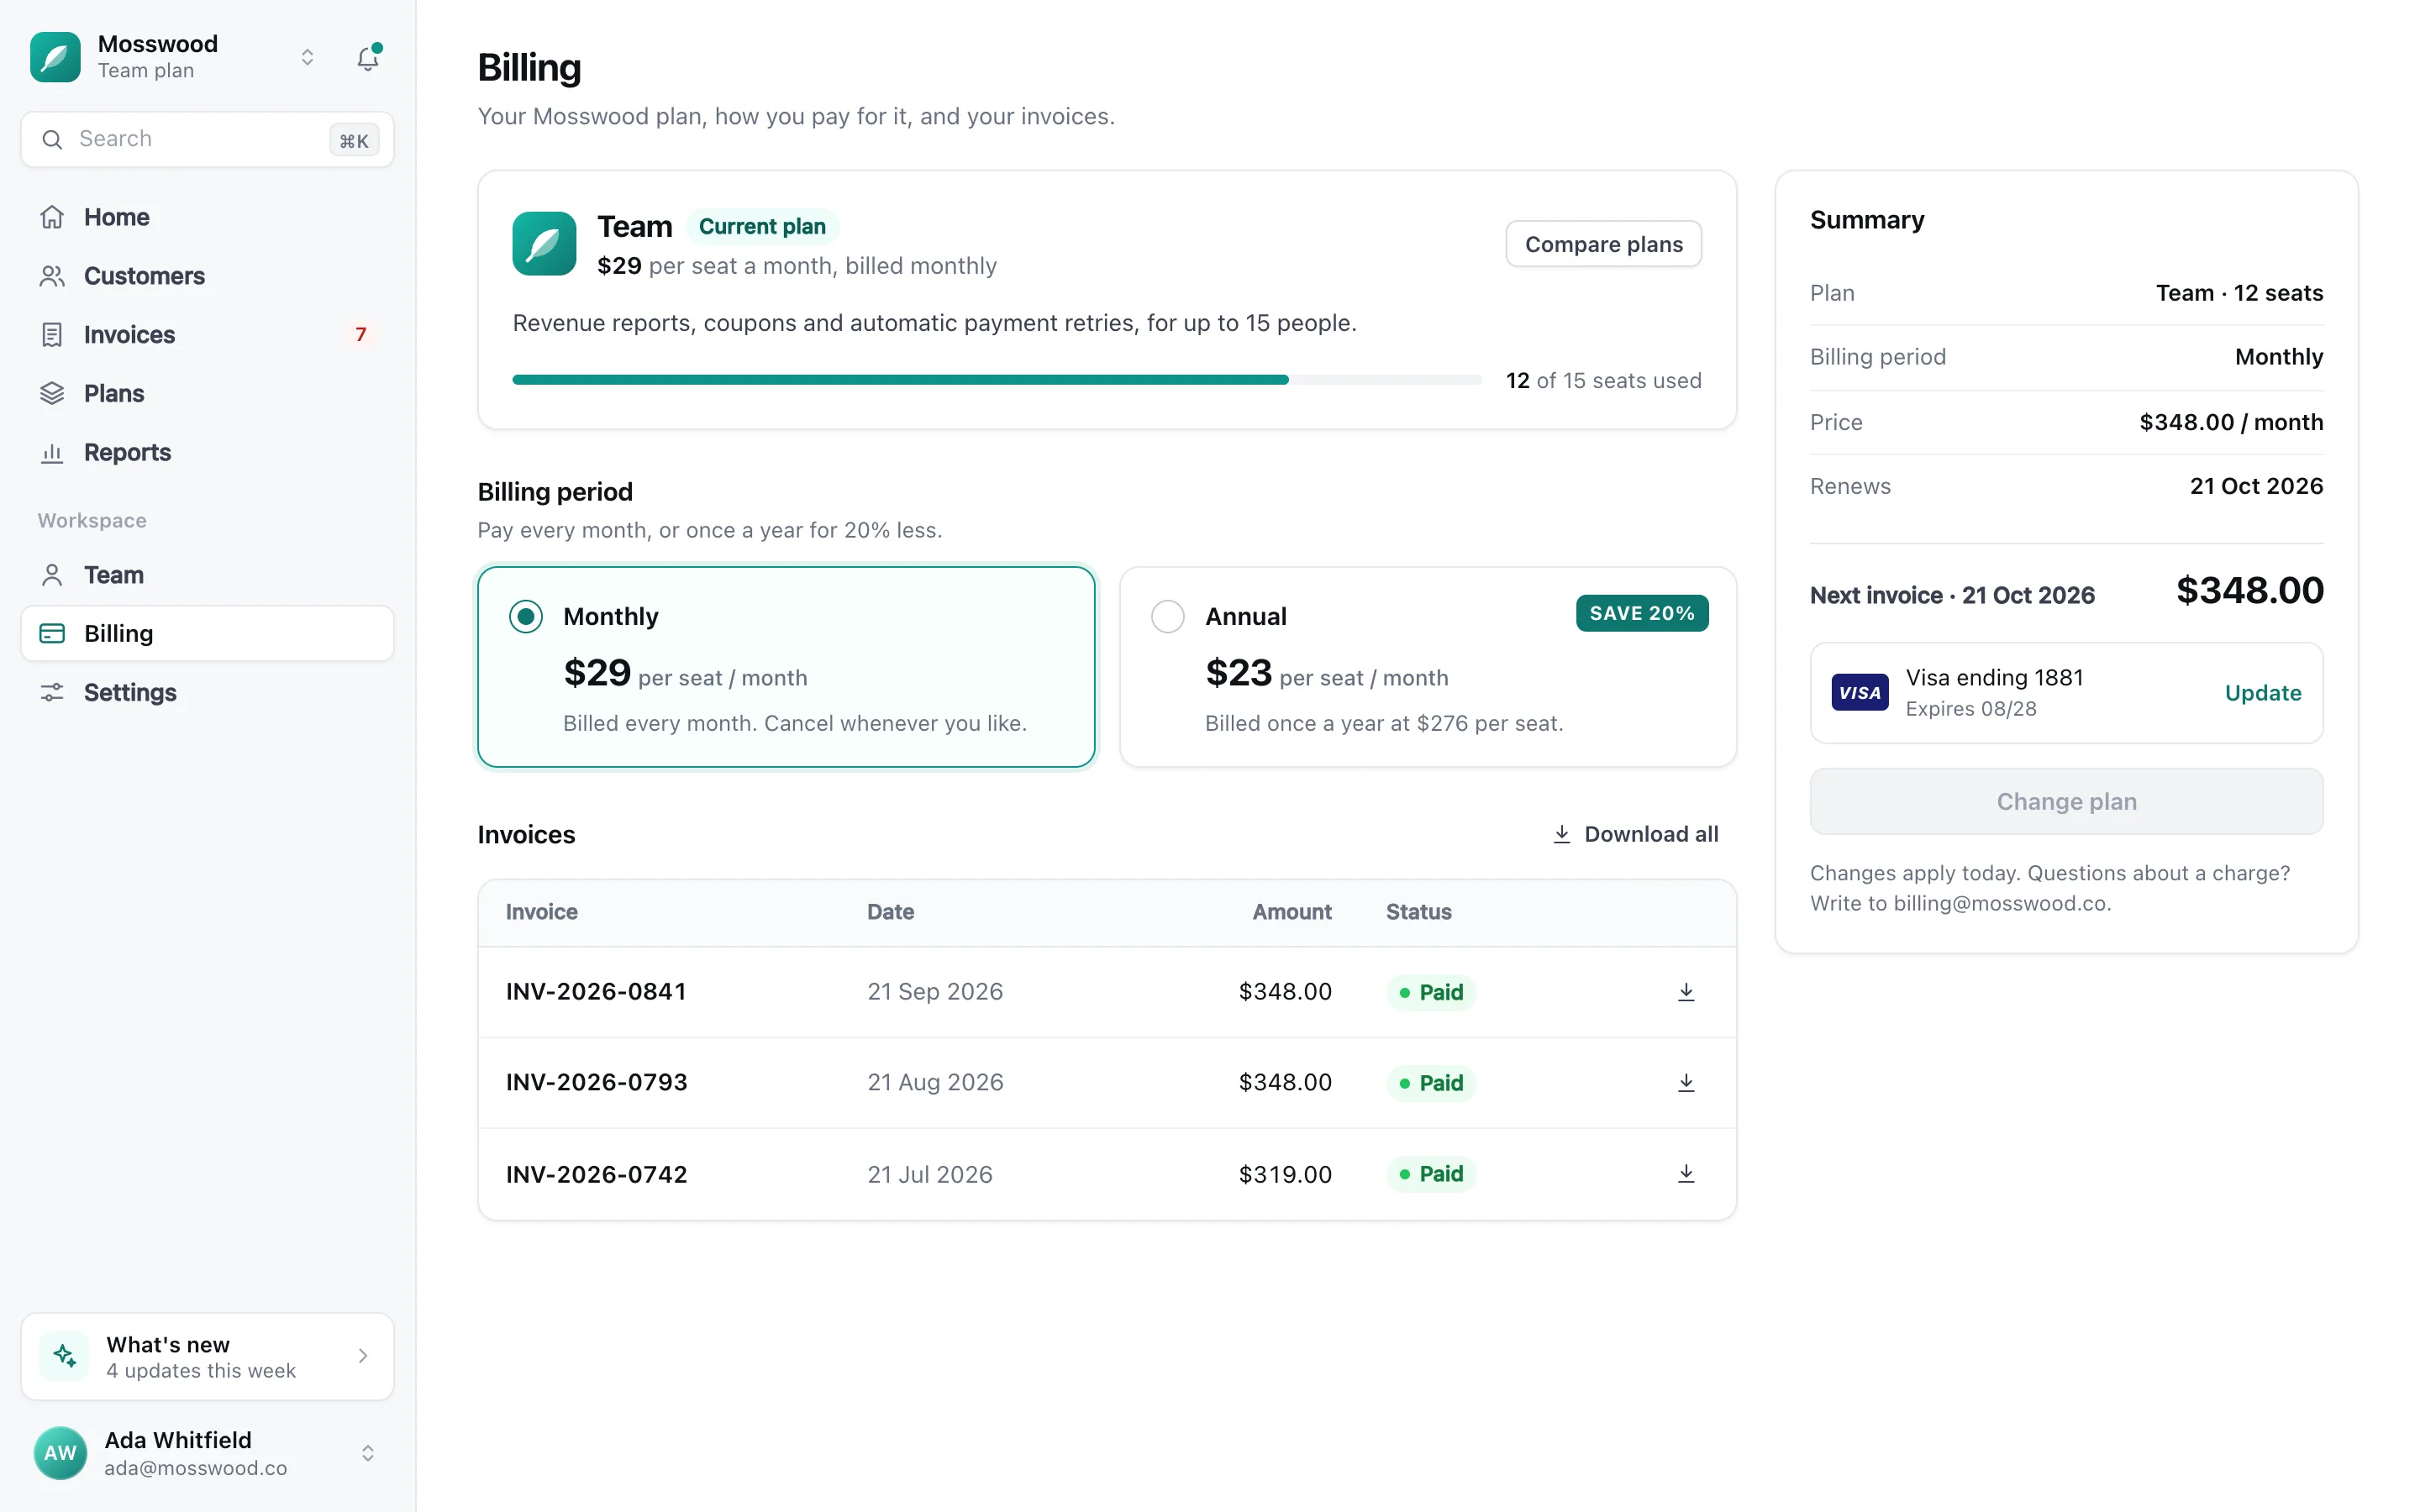
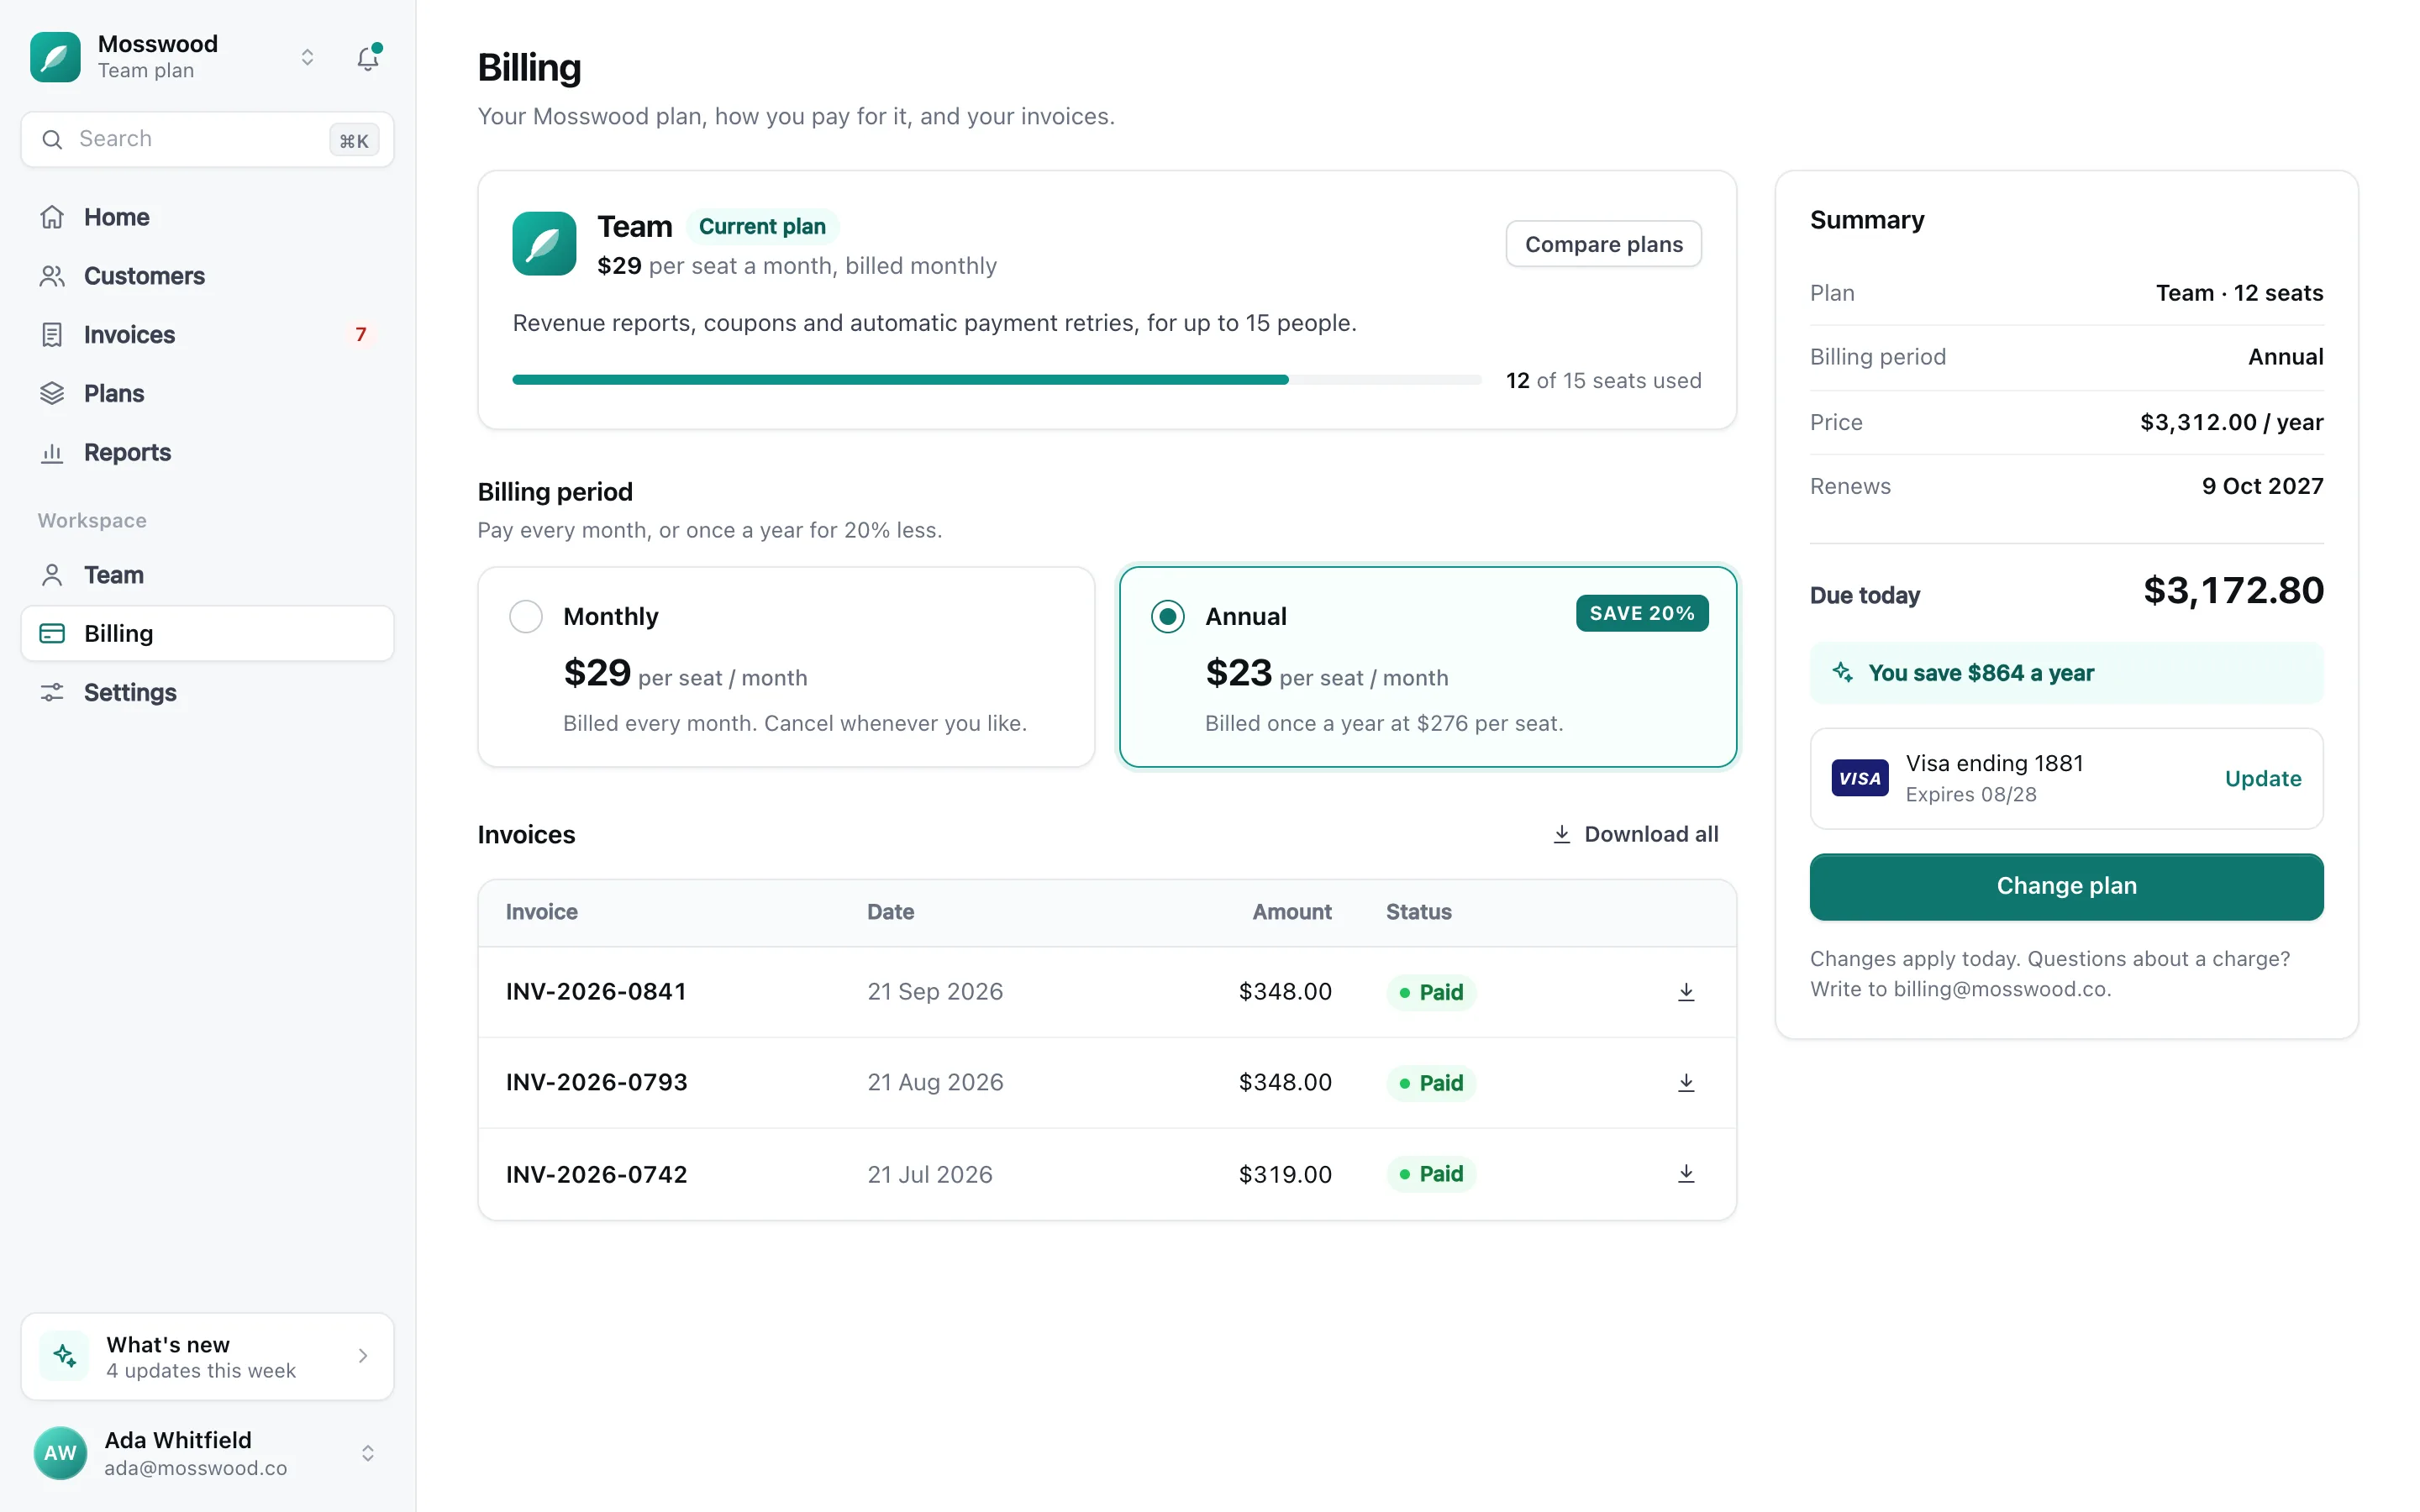
One step for every click, each already saying what you clicked, with a close-up of the screen and a box around it.

  1. 1On the recording, open its ⋯ menu and choose Make a step-by-step guide.
  2. 2Each step already says what you clicked. Change any words you like.
  3. 3Download it as a PDF, a Word file, a web page or Markdown, or copy it to paste.

Step 2

2.  Select “Annual”

3.  Click “Change plan”

2 / 3Made with PointerCam

Keys and pointer

Keys worth knowing.

The ones a first video uses. The editor lists every one under ⋯ › Keyboard shortcuts.

While you record

⇧⌘S
Stop
⌥⇧D
Draw on the page

In the editor

Space
Play or pause
←→
Step one frame, nudge a selection or retime a keyframe
S
Split the piece under the playhead in two, keeping every frame
X
Cut one second out at the playhead, so the video gets shorter
⌫
Delete what’s selected
⌘Z
Undo
⇧⌘Z
Redo
F
Fullscreen the preview
Esc
Deselect, leave a crop or leave fullscreen

With the pointer

Ruler or playhead
Scrub. The preview follows as you drag
Ends of the picked piece
Trim; a shared edge after a split rolls both
Double-click a piece
Split it there, keeping every frame
Double-click the zoom lane
Add a zoom there
⇧ + drag a piece
Mark a stretch to remove it or zoom over exactly it
Click the camera
Select it. Drag to move, pull the handles to reshape

Help

If something’s not right.

What trips people up on a first take, and the fix.

Every feature, step by stepThe help center has an article for everything PointerCam does, in the Mac app and in Chrome.

Chrome tucks new extensions behind the puzzle piece beside the address bar. Click the puzzle piece, then the pin next to PointerCam. Its button stays in your toolbar.

Ready for your first take?

Only about PointerCam, and every email has an unsubscribe link. Privacy

Open the editor

Free to try · No account · Nothing uploaded

Find this page again under the ? in your library, or in Settings › Help.